

Currently Empty: $0.00
How to Change Wheel Loader Attachments Safely
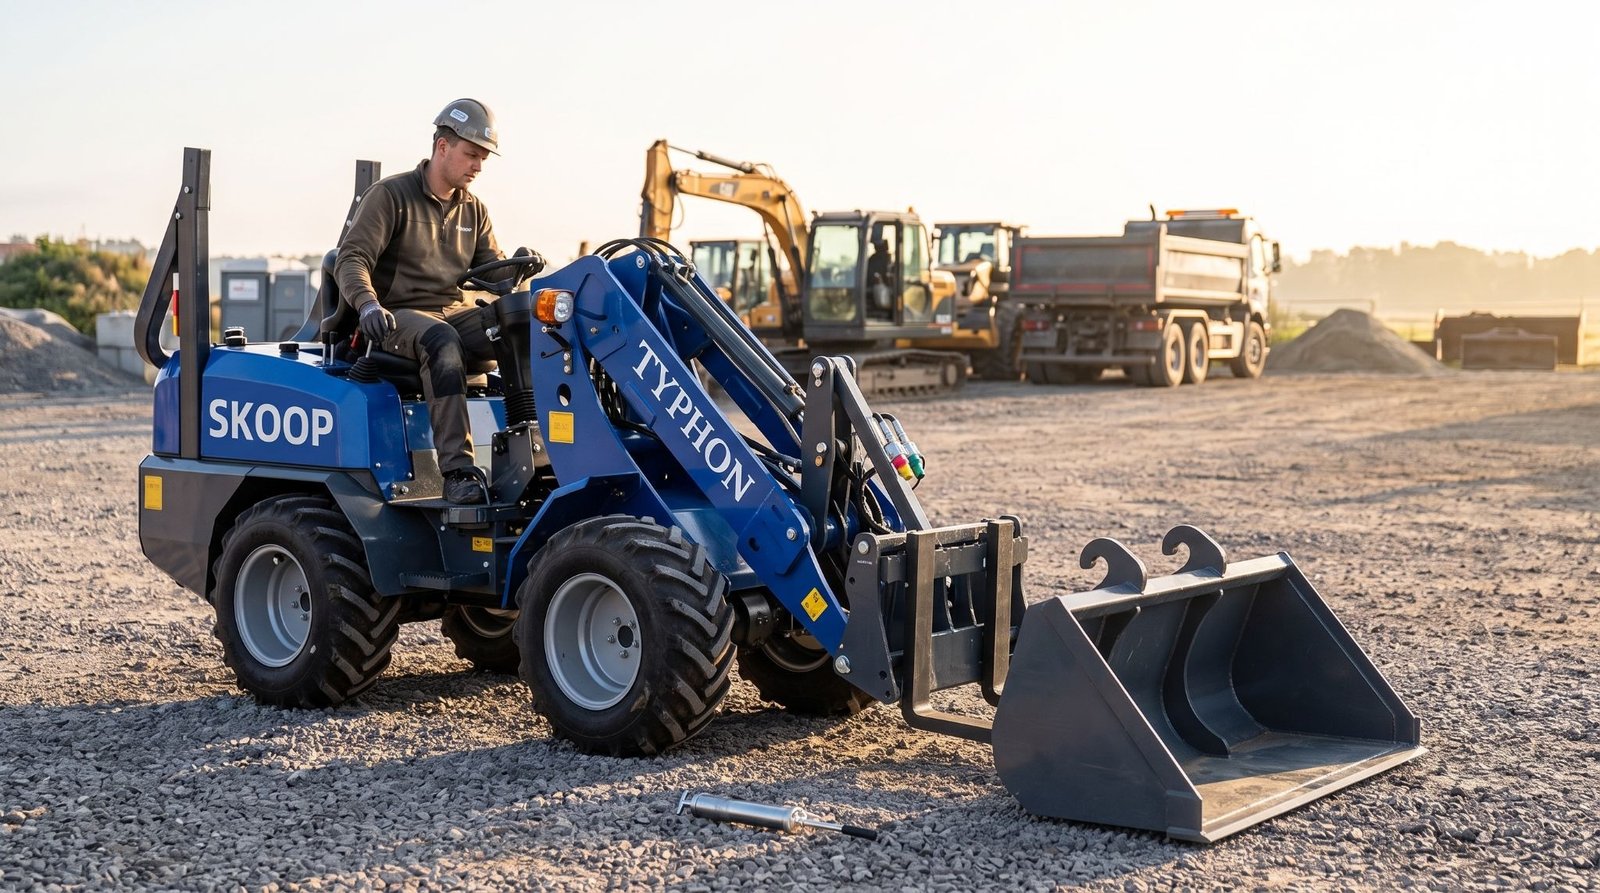
Swapping attachments is one of the most routine jobs on a wheel loader, and that’s exactly what makes it dangerous. Familiarity breeds shortcuts. An operator rushes the change, skips locking a pin, and halfway through lifting a full bucket the attachment drops or shifts, damaging the machine, the load, or the person standing too close. The good news is that a safe swap takes only a few minutes and follows the same reliable steps every time.
Every attachment change should begin with parking the loader on firm, level ground and lowering the attachment completely before releasing the locking mechanism. Taking a few moments to inspect the coupler, locking pins, and hydraulic connections helps ensure everything is clean, undamaged, and ready for the next attachment.
Once the new attachment is connected, operators should always verify that the locking system is fully engaged before returning to work. A quick lift and curl test confirms the attachment is securely seated, reducing the risk of unexpected movement or separation during operation.
Prepare the Work Area and Machine
Most attachment-change accidents trace back to a poor setup. A machine parked on a slope, a cluttered work zone, or an engine left running turns a simple task into a hazard. Taking one minute to prepare properly before you touch the coupler removes the biggest risks before they have a chance to cause harm.
Before beginning, choose a level, stable surface with enough space to maneuver safely and keep the area clear of unnecessary personnel and obstacles. A well-prepared work area makes the attachment change smoother, improves visibility, and reduces the chance of unexpected movement or accidents.
Set Up the Machine Before You Start
Before approaching the coupler, get both the machine and the surrounding area into a safe, stable state. Park on firm, level ground so nothing shifts or rolls during the change. Clear people, tools, and debris away from the front of the machine, lower the current attachment flat to the ground to take strain off the arms, set the parking brake, place the transmission in neutral or park, and shut off the engine before you step out of the cab. Never work around the coupler with the engine running unless a specific step requires it, and even then, keep everyone clear of the attachment zone. A stable machine and a clean work area are what keep a routine swap from turning into a serious incident.
Stage the New Attachment for a Controlled Swap
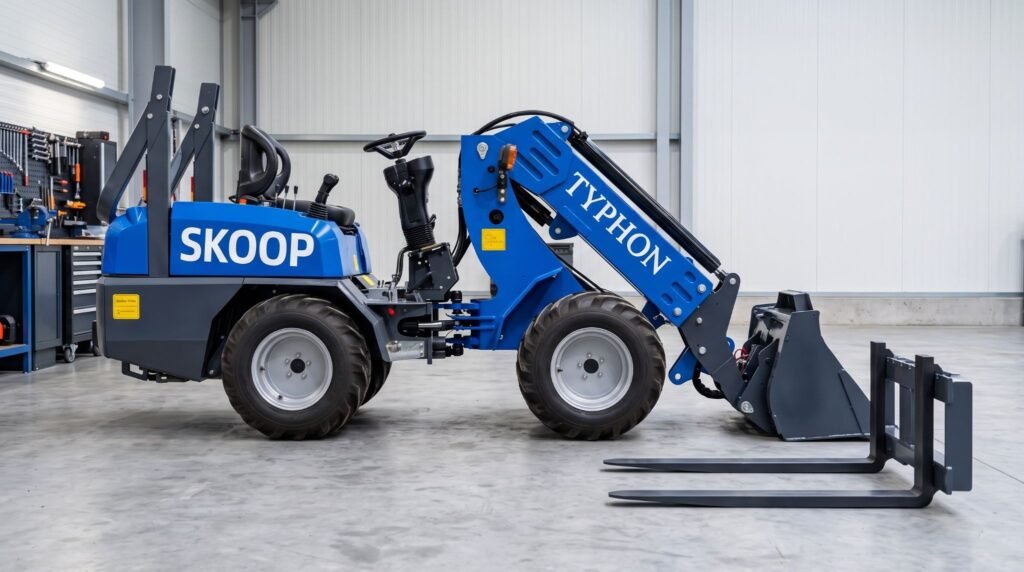
Having the replacement attachment ready and correctly positioned before you start makes the whole process faster and safer. Place the new attachment on level ground in a spot where you can drive straight up to it without angling or repositioning mid-approach. Before you connect anything, inspect the attachment for cracks, bent mounting points, or worn hardware. Confirm it is compatible with your coupler type and that your machine has the rated capacity to handle it. Keep your gloves, wheel chocks, and operator’s manual within easy reach so you’re never searching for them mid-task. A well-staged attachment means you’re in control of every step rather than improvising under pressure.
Release Hydraulic Pressure Safely
Hydraulic systems store energy even after the engine stops, and that trapped pressure is one of the most underestimated hazards in the attachment-change process. If you disconnect lines without bleeding the system first, couplers become difficult to release and residual pressure can cause fluid to spray with enough force to cause serious injury.
After shutting down the machine, follow the manufacturer’s procedure to relieve hydraulic pressure before disconnecting any hoses or couplers. Taking this simple step makes attachment changes easier, protects hydraulic components, and helps prevent injuries caused by unexpected pressure release.
Relieve Stored Pressure Before Breaking Any Connection
The right sequence starts with lowering the attachment fully to the ground so the hydraulic arms carry no load. Shut the engine down completely, then cycle all hydraulic controls back and forth with the key in the on position and the engine off to release the residual pressure trapped in the circuit. Work the coupler lever and tilt controls through their full range until the controls move freely with no resistance. Once the system is bled, you can proceed safely. Hydraulic fluid escaping under pressure can pierce skin and cause injury that isn’t immediately visible, so never check connections or fittings with your bare hand, and keep your face clear of every line and fitting during this step.
Disconnect Hydraulic Lines with Care
For powered attachments, the hydraulic couplers must be disconnected before the coupler itself releases. Wipe the couplers clean before breaking them apart to keep dirt and debris out of the hydraulic system. Disconnect the lines slowly and deliberately, since even a properly bled system may hold a small amount of residual pressure. Cap or plug open fittings immediately after disconnecting to prevent contamination, and stow the lines neatly so they won’t snag or catch as you back the machine away from the attachment. Clean, careful disconnection protects the hydraulic system and keeps the swap moving without delays or damage.
Remove the Current Attachment
With the machine stable and hydraulic pressure fully relieved, you can safely begin detaching the mounted attachment. The priority at this stage is a controlled, gradual release rather than a fast one. Attachments that drop or tip during removal are a direct result of skipping steps or rushing the sequence.
Lower the attachment onto a stable surface before unlocking the coupler, then back the loader away slowly to ensure it separates cleanly. Keeping the attachment fully supported throughout the process helps prevent damage to both the equipment and the work area.
Follow the Coupler’s Release Sequence in Order
Begin by confirming that the attachment is lying flat and fully supported on the ground. Release the coupler locks or pins according to the specific system on your machine, and watch the locking indicators move all the way to the fully unlocked position before you do anything else. Tilt the coupler slightly forward to disengage the top hooks, then back the machine away slowly and in a straight line, leaving the attachment settled in place on the ground. Keep everyone clear of the area as the coupler disengages. Even a grounded attachment can tip or shift when the coupler lets go, particularly if the ground isn’t perfectly level, so treat this moment with the same attention as any other part of the swap.
Clear the Area and Confirm the Detachment
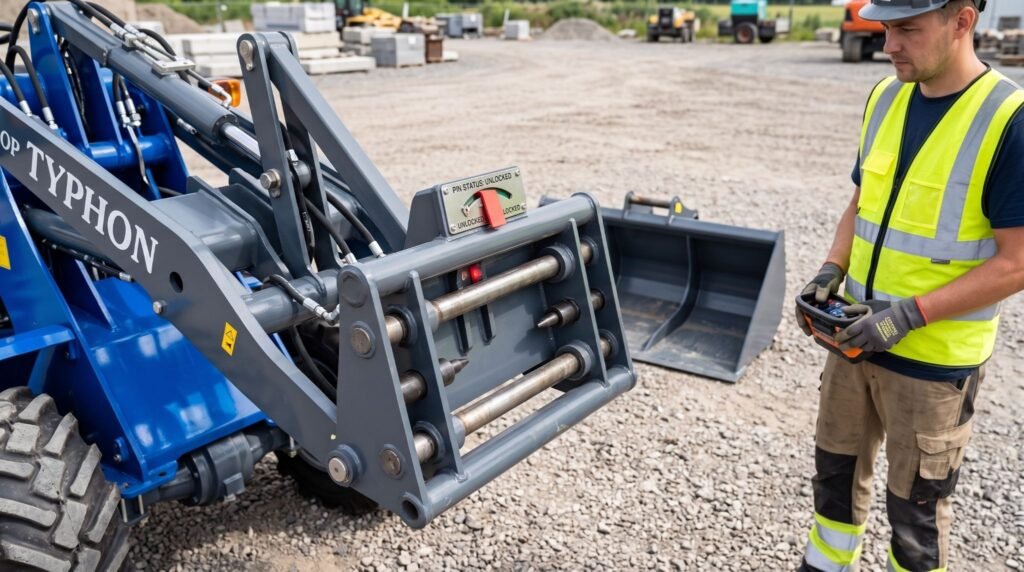
Once the machine is backed clear, walk out and visually confirm that the attachment is fully separated from the coupler with no hooks, pins, or lines still connected. Check that the coupler itself is undamaged and that the release was clean. This is also a good moment to inspect the attachment you’ve removed, looking for wear or damage that should be addressed before it goes back into service. A clear visual check after removal costs seconds and closes the loop before you move on to connecting the next attachment.
Connect and Lock the New Attachment
Mounting the new attachment is the reverse of removal, but this is where locking discipline matters most. An attachment that looks connected but isn’t fully locked is the most dangerous outcome of the entire process. A partial lock can hold at low height and then fail the moment the attachment is lifted under load.
Align the coupler carefully, engage the locking mechanism completely, and reconnect any hydraulic lines securely. Before returning to work, confirm that all locks are fully engaged so the attachment remains firmly connected during operation.
Engage the Coupler with Precision
Drive straight up to the staged attachment with the coupler tilted slightly forward. Align the coupler hooks carefully with the top mounting bar of the attachment, then tilt the coupler back smoothly to roll the attachment up and seat the top hooks. Once the top is engaged, raise the attachment a short distance off the ground to fully seat the upper connection, then engage the locking pins completely into the attachment’s lower mounts. Every part of this sequence depends on a straight, controlled approach. Angling into the attachment or rushing the tilt can result in a misaligned connection that looks seated but isn’t, which is exactly the kind of failure that causes attachments to drop in the field.
Confirm the Lock Before You Move On
After engaging the pins, confirm the connection directly rather than assuming it’s complete. Check that the locking indicators show the pins are fully engaged, not partially or visually close. If your machine requires a visual inspection of the pins from outside the cab, do it on every swap without exception. For powered attachments, reconnect the hydraulic lines now, wiping the fittings clean before mating them, and confirm that each line is fully seated and routed away from moving parts. The attachment is not ready for operation until the lock is verified, not just visually plausible from the seat.
Verify the Connection Before Operating
A connection that looks and feels solid can still fail under load if the lock isn’t fully engaged. Running a short, deliberate verification before you put the attachment to real work gives you the opportunity to catch a partial lock while the stakes are still low.
After installation, perform a quick functional test by lifting, tilting, and gently moving the attachment to confirm it is securely connected. Verifying the connection before operation helps prevent unexpected attachment movement and improves overall jobsite safety.
Test the Lock with a Low-Load Check
Start by raising the attachment just a short distance off the ground, then tilt it fully forward and back to confirm it holds firm in both directions. Curl the attachment downward and press it lightly against the ground to stress the connection and seat any components that may not be fully settled. Watch closely for any movement, gap, or play at the coupler during these motions, and listen for unusual sounds that could suggest a loose or partial lock. If anything looks, feels, or sounds wrong at this stage, lower the attachment immediately, shut the machine down, and recheck the pins before going any further. Never carry a load on a connection you aren’t fully confident in.
Verify Powered Attachment Functions
For attachments with hydraulic functions, run a brief systems check as well. With the engine running, cycle all powered functions slowly through their full range and watch for smooth, responsive operation without jerking, hesitation, or unintended movement. Check all hydraulic couplers for weeping or leaks under operating pressure. Recheck the locking pins after the first few cycles, since any looseness that wasn’t apparent during the static test will typically show itself once the attachment is in motion. A confirmed, functioning connection on all fronts is what clears the attachment for full use.
Frequently Asked Questions
What’s the most common mistake people make when changing wheel loader attachments?
Failing to fully lock the coupler is the most frequent and most dangerous mistake. Operators often seat the attachment on the top hooks, assume it’s connected, and skip verifying that the locking pins are completely engaged. The attachment can feel secure at low height but drop or roll off the moment it’s loaded or lifted. Always confirm the locking indicators show full engagement, inspect the pins directly when your machine requires it, and run a lock test before putting the attachment to work. That single habit prevents the majority of dropped-attachment incidents.
What are the main types of wheel loader coupler systems?
Wheel loaders generally use either a pin-on mounting system or a quick coupler system. Pin-on setups bolt the attachment directly to the loader arms, offering a very secure connection but requiring significant time and physical effort to change. Quick couplers come in manual and hydraulic versions. Hydraulic couplers lock and unlock from inside the cab, while manual couplers require the operator to set the pins by hand. Coupler standards also vary by machine brand and region, so always confirm that your attachment matches your specific coupler system before purchasing or attempting a swap.
Conclusion
A consistent attachment-changing procedure helps protect both the operator and the equipment. Preparing the machine correctly, relieving hydraulic pressure, removing the existing attachment in a controlled manner, securing the replacement, and confirming the connection before use all contribute to smoother operation and reduce the likelihood of unexpected equipment issues.
Just as important is making these steps a standard part of every attachment change, regardless of how routine the task may seem. Regular inspections of the coupler, hydraulic components, and locking mechanism help maintain dependable performance, extend equipment life, and ensure the loader operates efficiently whenever it’s needed.