Currently Empty: $0.00
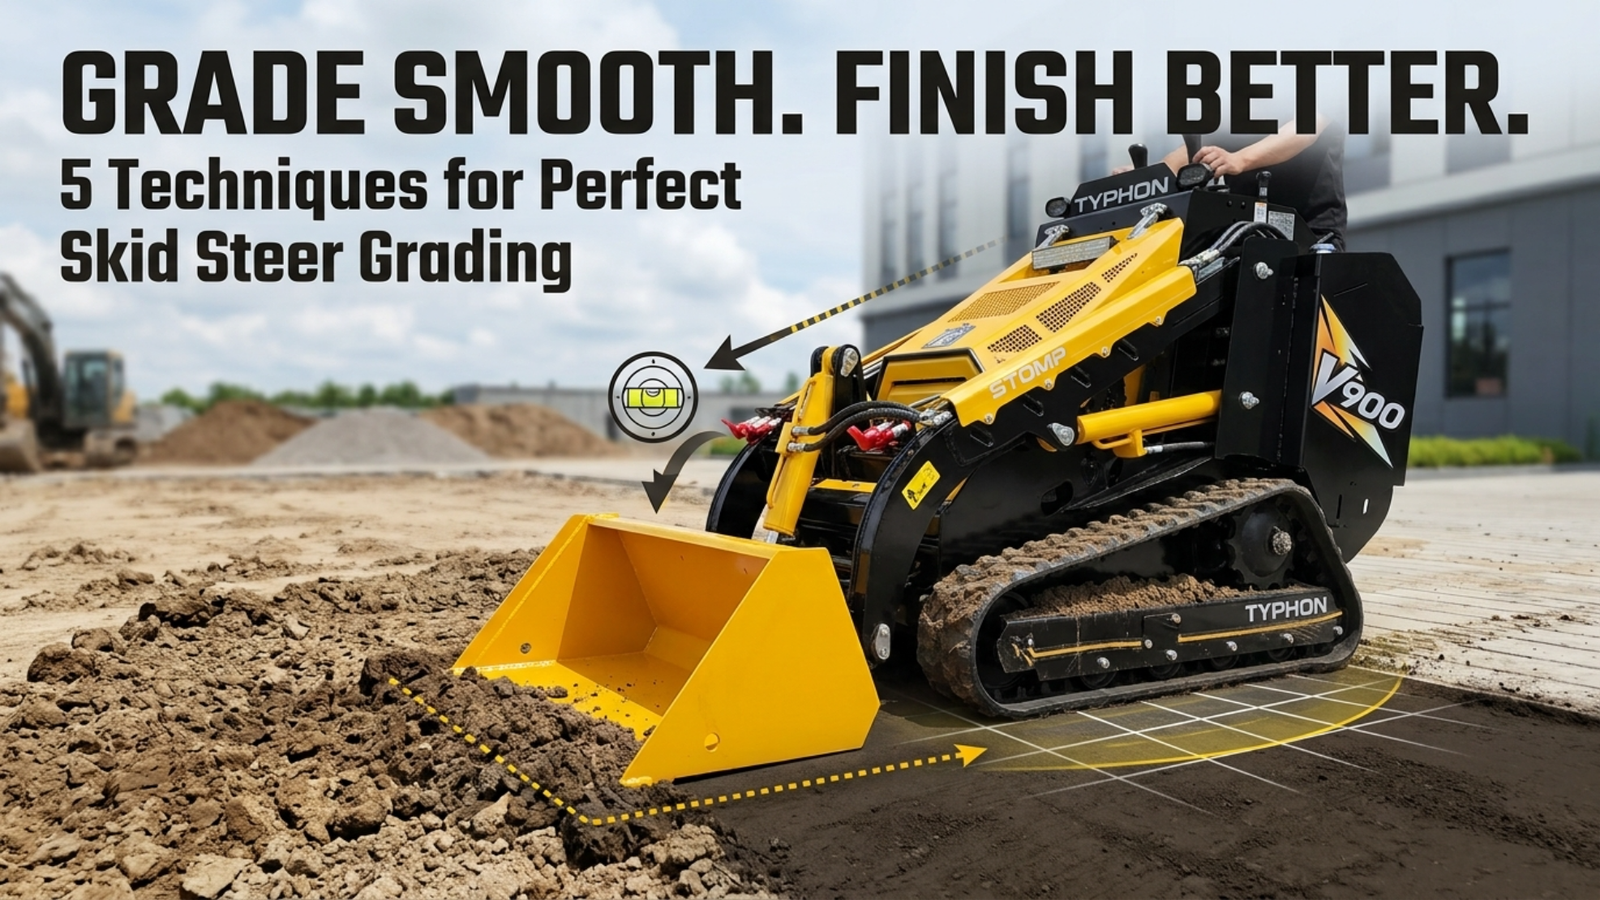
How to Grade Smoothly with a Skid Steer Bucket
Grading with a skid steer looks simple until you’re the one in the seat, watching your surface come out wavy, gouged, or uneven no matter how many passes you make. The truth is that smooth grading depends far more on technique than on horsepower. When you understand how to position the bucket, control your movements, choose the right attachment, and plan your passes, you can turn a rough, cratered work area into a clean, level surface with far less effort. This guide walks you through five proven ways to grade smoothly with a skid steer bucket, giving you the practical know-how to work efficiently and finish with professional results every time.
Position the Bucket Correctly for Smooth Grading
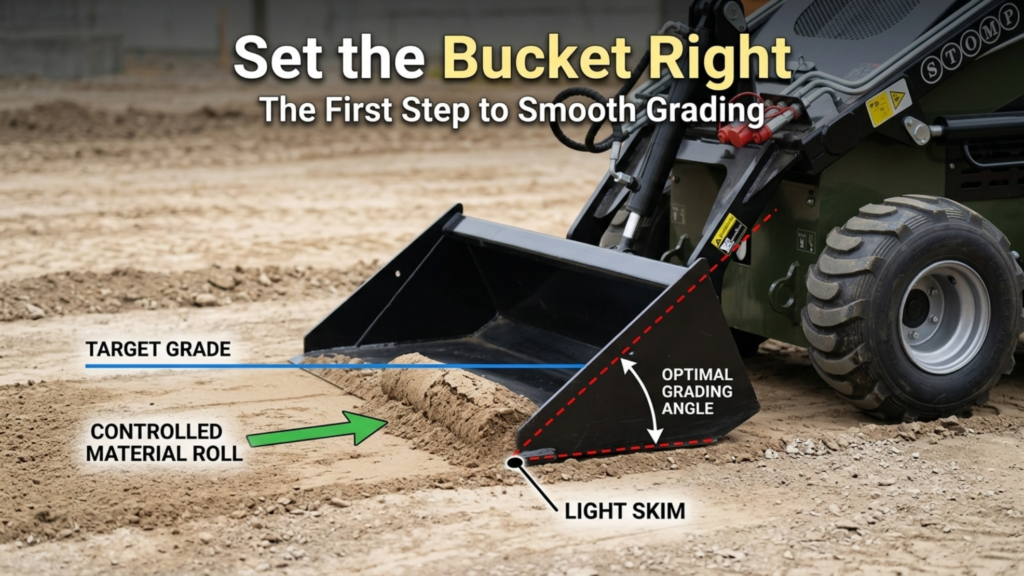
Everything about smooth grading starts with how you set the bucket, because the angle and position of the cutting edge determine the surface you leave behind. When the bucket sits at the correct angle, the cutting edge skims across the ground and shaves high spots while spreading material into the lows. Set it wrong, and the same pass either digs a trench or rides up and over the material without leveling anything. Getting the position right from the start is what lets you create an even surface with fewer passes and far less frustration.
The cutting edge needs to sit level with the grade you’re trying to achieve, and keeping it there is the heart of good technique. A bucket tipped too far forward drops the leading edge and digs in, gouging the surface and pulling too much material at once. Tipped too far back, the edge lifts and simply drags material along without cutting or leveling. The sweet spot is a slightly flat bucket, with the cutting edge riding just at the surface, carrying a modest roll of material ahead of it.
A few positioning fundamentals keep your grading clean and controlled:
- Keep the bucket nearly flat, with the cutting edge level to the target grade rather than pitched steeply.
- Carry a small, steady roll of material ahead of the edge to fill low spots as you move.
- Avoid digging too deep, letting the edge shave rather than plow into the ground.
When you hold this position consistently, the skid steer moves material smoothly instead of fighting it. Each pass does more useful work, so you spend less time correcting mistakes and more time finishing the grade. Correct bucket positioning is the foundation every other grading skill builds on, and mastering it pays off immediately in a cleaner, flatter result.
Control Speed and Hydraulic Movements
Once the bucket is positioned correctly, how you move the machine decides whether that position holds. Smooth grading depends on a steady travel speed and precise, controlled use of the lift and tilt functions. Rushing the machine or making sharp hydraulic corrections undoes good positioning in an instant, leaving behind the very high and low spots you’re trying to eliminate. Deliberate, measured control is what keeps material spreading evenly across the entire work area.
Travel speed matters more than most operators expect. Moving too fast gives you little time to react to changes in the surface, and the bucket tends to bounce or skip, leaving a rippled finish. A slow, consistent pace lets the cutting edge track the ground faithfully and gives you time to make the small adjustments that keep the grade true. Steady speed also keeps the roll of material ahead of the bucket flowing smoothly rather than surging and stalling.
Hydraulic control calls for the same restraint. Fine grading is a game of small inputs, and your best results come from gradual adjustments to lift and tilt rather than abrupt corrections.
- Feather the lift to raise or lower the bucket in small increments as the surface changes.
- Adjust tilt gently to fine-tune the cutting edge without suddenly digging or riding up.
- Make one small correction at a time, letting each take effect before adding another.
Think of an operator smoothing a gravel pad: a light lift over a low spot lets material fall in to fill it, while a slight edge drop shaves a rise back to grade. Those subtle moves, made at a steady pace, are what prevent the unwanted humps and dips that ruin an otherwise good surface. When your speed and hydraulics work together in small, controlled measures, the finished grade comes out even, tight, and professional.
Use the Right Bucket for the Grading Task
The bucket on your machine has a direct effect on how well it grades, because different buckets are built for different materials and finishing needs. A bucket suited to the task moves material smoothly, holds a clean line, and helps you achieve the leveling accuracy you’re after. The wrong bucket forces you to work harder for a worse result, fighting poor material flow and an edge that won’t hold the grade. Choosing the correct attachment sets you up for success before the first pass.
Bucket selection comes down to matching the tool to the material and the finish you need. Several options are common on grading jobs, each with its strengths:
- General-purpose buckets, versatile for moving and rough-leveling soil, gravel, and mixed material across most jobs.
- Grading or smoothing buckets, wider and flatter with a straight cutting edge built specifically for accurate leveling and fine finishing.
- Low-profile buckets, which improve visibility to the cutting edge and help with precise surface work.
Selecting from these based on your material and desired finish makes every pass more effective and your final surface noticeably cleaner.
The reasoning is practical. A wide, flat grading bucket spans a larger area and rides more consistently across the surface, so it levels more accurately with each pass and leaves fewer ridges to clean up. A general-purpose bucket handles the heavier work of moving and rough-shaping material but won’t finish as smoothly. Material flow matters too, since a bucket shaped to let soil or gravel roll evenly across the edge fills lows and shaves highs in one motion. When you match the bucket to the job, material moves the way you want it to, leveling accuracy improves, and overall grading performance climbs. It’s a simple choice that separates a rough result from a genuinely smooth, finished surface.
Work in Proper Pass Patterns
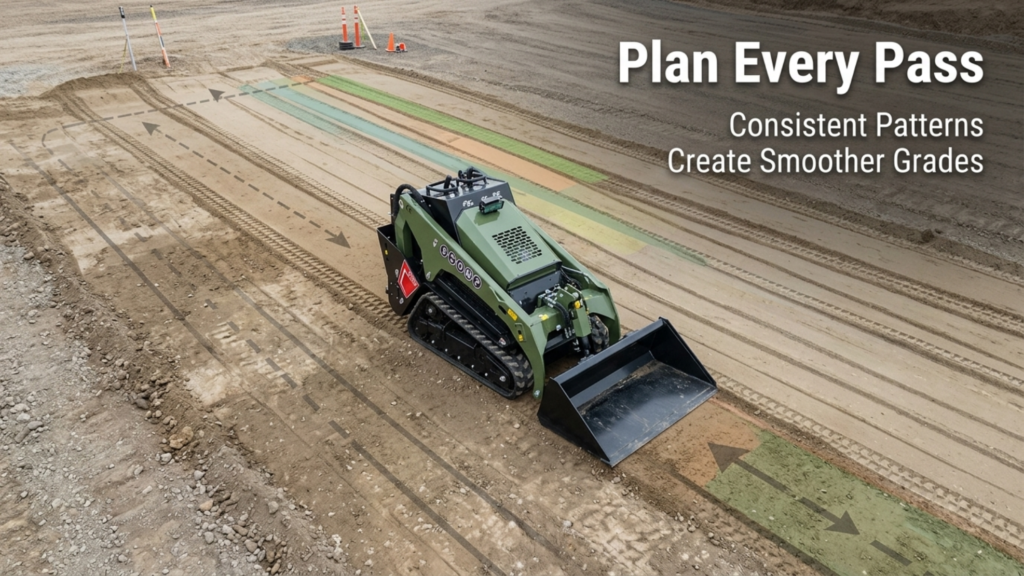
How you organize your passes across the work area has as much influence on the finished grade as any single technique. Consistent pass directions distribute material evenly and keep the surface uniform, while random, haphazard passes pile material in some spots and starve others. Planning your pattern before you start turns grading into a systematic process, reducing rework and helping you reach a cleaner finished surface with less time spent chasing problem areas.
The most reliable approach is to grade in consistent, overlapping passes that build the surface methodically. Working in one primary direction lets you carry material steadily across the area and blend each pass into the last. Overlapping slightly on each pass prevents the ridges that form when passes leave untouched strips between them. Keeping your passes parallel and evenly spaced maintains a uniform surface rather than a patchwork of high and low lanes.
A thoughtful pass pattern usually follows a few sensible habits:
- Grade in one main direction first, moving material consistently across the work area.
- Overlap each pass slightly to eliminate ridges and blend the surface together.
- Follow with a cross-direction pass when needed to catch high and low spots the first direction missed.
Consider leveling a driveway base: running the length of the drive first establishes the grade, then a final pass across the width smooths out any remaining unevenness. This kind of planning does more than tidy the finish; it prevents the wasted effort of going back over the same ground repeatedly. When you know where each pass fits into the larger pattern, you distribute material efficiently and reach a flat, even result the first time through. A little planning up front saves considerable rework later and delivers a surface that looks and performs the way it should.
Maintain Visibility and Operator Technique
The final piece of smooth grading is you, the operator, and how well you can see and control the work. Good visibility to the cutting edge lets you monitor exactly how the bucket is engaging the ground and how material is moving, which is the information you need to make accurate corrections. Combined with skilled, practiced technique, clear sightlines let you grade precisely while keeping unnecessary strain off the machine. Even the best positioning and the right bucket fall short if you can’t see and feel what’s happening at the edge.
Keeping the cutting edge in view is worth the effort it takes to set up. Position the bucket at a height and angle that lets you watch the leading edge and the roll of material ahead of it, and keep your windows and mirrors clean so nothing obscures the work. When you can see the edge, you catch a developing high or low spot early and correct it with a small adjustment, before it becomes a problem that demands another pass.
Strong operator technique ties everything together and protects the machine at the same time.
- Watch the cutting edge and material flow continuously, adjusting before small issues grow.
- Work with smooth, deliberate inputs rather than abrupt movements that jar the machine and the surface.
- Stay within the machine’s limits, avoiding overloaded passes that strain the hydraulics and drivetrain.
Smooth technique reduces wear because the machine isn’t fighting sudden loads or aggressive corrections, and it produces a better surface at the same time. An operator who grades with light, controlled movements and constant attention to the edge finishes faster, more accurately, and with less mechanical strain. Skill built through practice is the difference between a machine that simply pushes dirt and one that grades like a finishing tool, and it’s what brings every other technique in this guide together into a genuinely smooth result.
Conclusion
Grading smoothly with a skid steer bucket comes down to combining sound technique across every part of the job. Position the bucket flat with the cutting edge at grade, control your speed and hydraulics with small, deliberate inputs, and choose a bucket suited to your material and finish. Add a consistent, well-planned pass pattern and sharp operator technique with clear visibility to the cutting edge, and the pieces work together to produce a clean, level surface with fewer passes and less rework. These skills build on one another, and they reward practice. Put them to work on your next grading job, and you’ll finish faster, waste less effort, and deliver the kind of smooth, professional result that reflects real command of your machine.